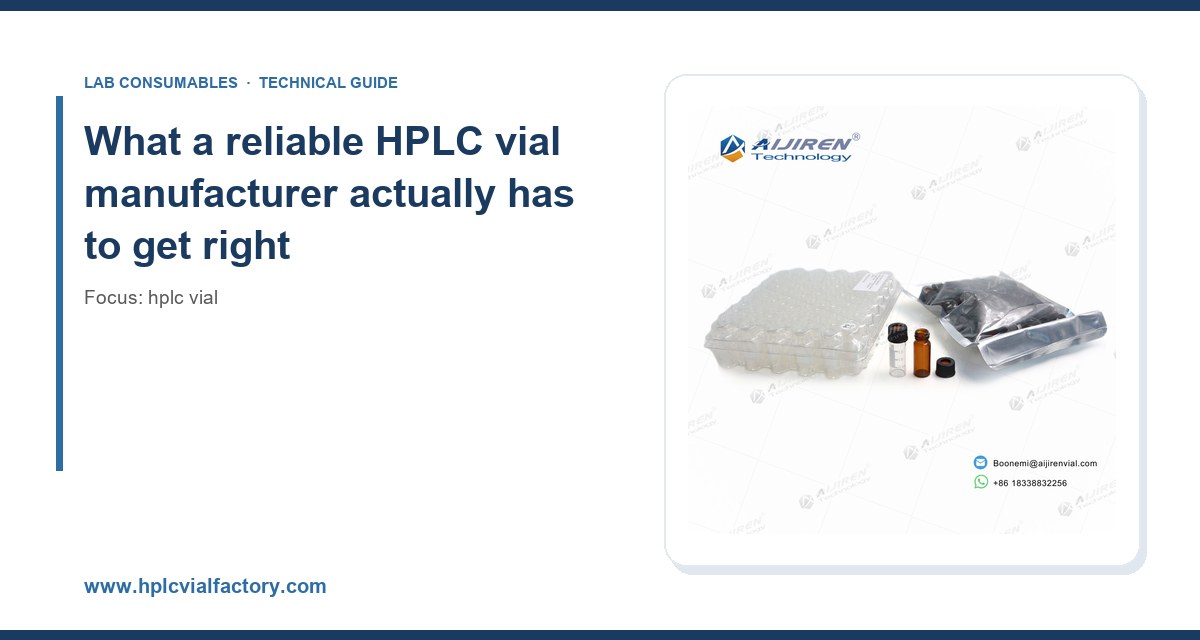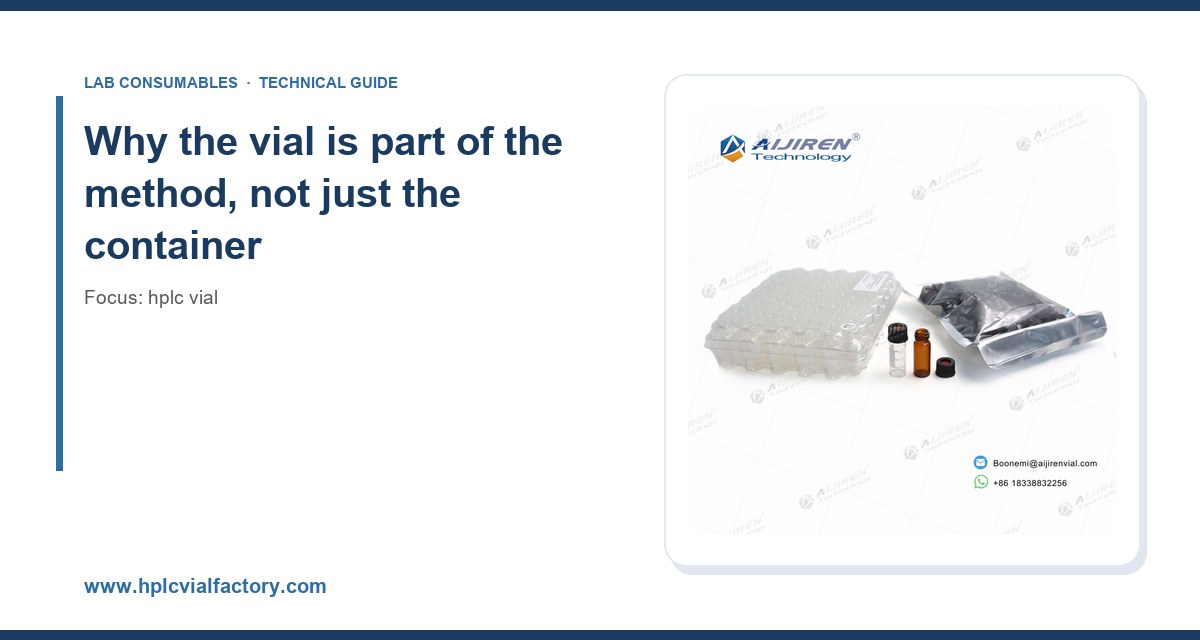
I have watched a lab spend three weeks chasing a ghost peak that turned out to be a plasticizer leaching from the wrong cap liner. The column was fine. The method was fine. The vial closure was not. That experience, repeated a few times over fifteen years, is why I treat vial selection as an analytical decision and not a purchasing afterthought. This guide is what I would hand a new buyer or a bench chemist who has to specify, order, and live with these parts.
An autosampler vial does four jobs at once. It holds a fixed volume, it seals that volume against evaporation and contamination, it presents a septum to a needle at a repeatable position, and it survives whatever temperature and pressure the workflow imposes. Get any one of those wrong and you get chromatographic problems that look like instrument faults. Retention time drift, ghost peaks, low recovery, needle coring, and autosampler crashes all trace back to vial geometry or closure chemistry more often than most people admit.
The physical standard that governs most of this is the 12 x 32 mm vial, which fits the great majority of HPLC and GC autosamplers. It holds a nominal 1.5 mL to 2 mL and takes a 11 mm crimp or screw closure. The neck finish on a screw-thread 12 x 32 is the 9 mm short-thread format, and the two dominant thread standards are the GPI 9 mm (Glass Packaging Institute) short thread and the taller 8-425 and 10-425 formats used on older or specific instruments. If you mix thread standards across suppliers you will get leaks, partial engagement, and septa pushed into the neck. I have seen a whole tray of samples vent because someone substituted a 9 mm cap onto a 10-425 vial and torqued it down hard enough to feel tight.
Beyond the standard 12 x 32 there are short 11 mm vials for high-density autosampler trays, wide-mouth 12 x 32 formats with a 6 mm opening for pipette access, and micro-volume inserts down to 150 µL for limited-sample work. Each has a place. None is a universal substitute.
Glass: the first decision that actually matters
Type I borosilicate versus Type III soda-lime
Most HPLC vials are Type I borosilicate glass (often called borosilicate 3.3, with a coefficient of linear expansion around 3.3 x 10⁻⁶ /K). It resists thermal shock, has low extractables, and holds up to autoclaving. Type III soda-lime glass is cheaper and fine for many routine aqueous and organic assays, but its higher alkali content makes it more prone to surface leaching, especially with basic mobile phases or long storage. For trace analysis, ion chromatography, or anything with a basic analyte, I specify Type I and do not negotiate on it.
There is a third option worth knowing: deactivated glass. Manufacturers treat the inner surface to block silanol groups that would otherwise adsorb basic compounds or proteins. If you run amines, peptides, or anything that tails badly, a deactivated vial can recover 5 to 15 percent more signal than an untreated one. It costs more. It is worth it when your analyte is the problem.
Amber versus clear
Amber glass blocks light below roughly 500 nm and protects photosensitive compounds like vitamins, some antibiotics, and certain pesticides. Clear glass lets you see the sample, which matters for visual checks on precipitation or phase separation. I keep both on the shelf and match to the analyte. Do not assume amber is inert to your solvent; the color comes from iron oxide in the glass batch, and it is chemically fine for most work but worth verifying for trace metals.
Closure systems: crimp, screw, and snap
The closure is where most real-world failures live. I have strong opinions here.
Crimp caps
Crimp closures use an 11 mm aluminum seal compressed onto the vial neck with a crimping tool. Done correctly, they give the best seal against evaporation and the most consistent septa position. Done badly, they leak or crush the septum. The tool matters: a worn or misadjusted crimper produces caps that look fine and fail in the autosampler. I check crimp quality by feel (the cap should not spin freely) and by a quick evaporation test on a weighed vial left open to the tray for 24 hours. Target loss for a good crimp on a volatile solvent is under 1 percent per 24 hours at room temperature. If you are seeing more, your crimper needs adjustment or replacement.
Crimp is my default for GC and for long HPLC runs where evaporation is a real risk. It is less friendly for workflows that need to reopen vials, because decapping destroys the seal.
Screw caps
Screw-thread closures are reusable and far more forgiving for sample prep, autosampler trays that get loaded and reloaded, and any workflow where a technician opens a vial more than once. The trade-off is seal consistency: torque varies by hand and by tool. I recommend a torque driver set to roughly 0.5 to 0.8 N·m for 9 mm screw caps. Under-torque and the septum does not compress; over-torque and you deform the septum, which causes coring and needle damage. A consistent, modest torque beats a hard twist every time.
Screw caps also come in pre-slit and non-slit septa. Pre-slit septa reduce coring on repeated injections but offer a slightly worse evaporation barrier. For a run of 50 injections off one vial, pre-slit is the pragmatic choice. For a single injection on a volatile sample, non-slit wins.
Snap caps
Snap or press-fit closures are fast to load and popular on high-throughput autosamplers. They seal well enough for short runs but are the weakest option for long-term storage or volatile solvents. I use them for aqueous samples analyzed within a shift and almost never for anything that sits overnight.
Septa: the part everyone underestimates
The septum is the single most common source of contamination and needle problems in my experience. It is also the cheapest part to get right. A full rundown of materials and compatibility lives at our HPLC septa resource, but here is the working summary.
- Silicone: excellent reseal, high gas permeability, poor solvent resistance. Good for aqueous work, bad for chlorinated solvents and long storage.
- PTFE-faced silicone: the workhorse. The PTFE face contacts the sample and resists most solvents; the silicone provides the reseal. Puncture life is typically 50 to 100 injections before coring becomes a risk, and I replace sooner on critical runs.
- PTFE/silicone laminated: similar, with a bonded construction that resists delamination better under repeated piercing.
- Butyl rubber: low permeability, good for GC headspace and volatile work, but poor against many organic solvents.
- Natural rubber: cheap, high extractables, avoid for trace analysis.
The failure mode to watch is coring: the needle punches a plug of septum material that falls into the sample or clogs the needle. Coring shows up as intermittent pressure spikes, ghost peaks at the front of the run, and eventually a blocked needle. Pre-slit septa and a sharp, correctly aligned needle reduce it. So does replacing septa on a schedule rather than waiting for a symptom. On a method with 100 injections per vial, I swap the septum at the start of the run and accept the cost.
Temperature rating matters too. Standard silicone septa are good to about 200 °C; PTFE-faced versions handle 250 °C or more. If you are doing headspace GC at elevated temperatures, check the septum rating against your oven program, not just your sample prep temperature.
A comparison table you can actually use
Here is the decision matrix I keep on the wall. Numbers are working values from our own QC and from published vendor specs; verify against your instrument and method.
- Crimp, 11 mm, PTFE/silicone septum: 12 x 32 mm, 1.5 to 2 mL, seal loss under 1 percent/24 h, ~50 to 100 punctures, best for GC and long HPLC runs, not reusable.
- Screw, 9 mm short thread, PTFE/silicone: 12 x 32 mm, 1.5 to 2 mL, torque 0.5 to 0.8 N·m, ~50 to 100 punctures, reusable, best for sample prep and multi-injection workflows.
- Snap, 11 mm: 12 x 32 mm, 1.5 to 2 mL, fastest loading, weakest evaporation barrier, best for same-shift aqueous work.
- Short 11 mm vial: lower profile for dense trays, 0.3 to 1 mL typical, confirm autosampler clearance before ordering.
- Micro-volume insert: 150 to 300 µL, for limited samples; pair with a matched spring or support to keep the needle in the liquid.
If you want a single default for a mixed lab, the 9 mm screw-thread 12 x 32 with a PTFE/silicone septum covers the widest range of workflows with the fewest surprises. I order that by the case and keep crimp supplies for GC and volatile work.
Matching the vial to the workflow
Standard reversed-phase HPLC
Clear or amber Type I borosilicate, 12 x 32 mm, 9 mm screw or 11 mm crimp, PTFE/silicone septum. Fill to no more than about 80 percent of nominal volume so the autosampler needle does not hit liquid on aspiration and the headspace does not pressurize. For a 1.5 mL vial that means roughly 1.2 mL working volume.
GC and headspace
Crimp closures with a low-permeability septum (butyl or PTFE-faced silicone depending on solvent), and vials rated for the oven temperature. Headspace vials are usually 20 mm crimp, not 11 mm, and need a matching crimper and seal. Confirm your autosampler’s headspace format before you buy anything; the 20 mm headspace vial is a different animal from the 12 x 32 HPLC vial.
Trace and ultra-trace analysis
Deactivated Type I glass, PTFE-faced septum, and a supplier who certifies low extractables. Ask for a certificate of analysis and, where it matters, a lot-specific extractables report. This is where cheap vials cost the most, because the contamination shows up as baseline noise and phantom peaks that take days to trace. Our HPLC vial range includes low-extractable options for exactly this reason.
Sample storage and stability studies
Screw caps with non-slit septa and a consistent torque. Store at the temperature your stability protocol specifies and re-check seal integrity at each timepoint. I have seen 5 percent evaporation over a month on a poorly torqued screw cap, which is enough to shift a quantitation result. Weigh a representative vial at t=0 and at each pull to catch it early.
Operational precautions that prevent most failures
- Never mix thread standards. A 9 mm cap on a 10-425 vial will feel tight and still leak. Check the neck finish, not the cap color.
- Torque screw caps consistently. A driver at 0.5 to 0.8 N·m beats hand-tightening. Hand torque varies by a factor of two between technicians.
- Inspect crimps. The cap should not spin. If it does, re-crimp or replace the tool.
- Replace septa on a schedule. Do not wait for coring. On critical methods, one septum per run.
- Check needle alignment. A bent or misaligned needle cores septa and produces ghost peaks. Verify against the autosampler manual.
- Respect fill volume. Overfilling causes aspiration errors and, in headspace, carryover.
- Match septum temperature rating to the oven program, not just to room-temperature sample prep.
- Store vials capped and upright. Dust and lab air contaminants settle into open vials faster than people think.
Troubleshooting checklist
When a run goes wrong and the instrument looks clean, work through this before you touch the column.
- Ghost peaks early in the run: suspect septum extractables or vial contamination. Swap to a PTFE-faced septum and a certified low-extractable vial, then re-run.
- Retention time drift across a tray: suspect evaporation from a poor seal. Weigh vials at the start and end of the run; more than 1 percent loss points to the closure.
- Intermittent pressure spikes: suspect coring. Inspect the needle and the septum; a plug of silicone in the needle is the usual culprit.
- Low recovery on basic analytes: suspect silanol adsorption. Try a deactivated vial before you change the method.
- Autosampler crashes or mis-picks: suspect vial geometry. Confirm the vial height and neck finish match the tray and gripper.
- Leaks after capping: suspect thread mismatch or over-torque. Check the neck finish and re-torque to spec.
For method-level context on sample handling and extraction, the U.S. EPA SW-846 test methods are a useful reference for how sample containers and holding times are specified in regulated work, and vendor technical libraries such as Restek’s chromatography resources are worth bookmarking for septum and inlet compatibility data.
Buying: what to ask and what to ignore
Price per vial is the wrong metric. Cost per valid injection is the right one. A vial that costs a few cents more but eliminates a re-run pays for itself on the first avoided repeat. When you evaluate a supplier, ask for these specifics:
- Glass type and expansion coefficient: Type I borosilicate 3.3 is the benchmark.
- Dimensional tolerance: neck finish and height tolerances should be tight enough for your autosampler; ask for the numbers, not a promise.
- Septum material and temperature rating: exact construction, not a generic “silicone.”
- Extractables data: lot-specific for trace work.
- Certificate of analysis: available on request, not just on the datasheet.
- Packaging: vials shipped in a clean, sealed tray reduce particulate contamination before the vial ever reaches the bench.
It also helps to buy the ecosystem together. Closures, septa, and vials from the same supplier are more likely to be dimensionally matched. Our vial closures and chromatography products catalogs are organized so you can spec a complete set, and the major instrument vendors publish their own consumable compatibility data, for example Agilent’s GC columns and accessories and Thermo Fisher’s chromatography and sample handling pages. Cross-check your autosampler model against the vendor’s recommended vial before you commit to a case quantity.
My recommendation
For most HPLC labs, standardize on 12 x 32 mm Type I borosilicate vials with a 9 mm short-thread screw closure and a PTFE/silicone septum, torqued to 0.5 to 0.8 N·m with a driver, and replace septa every run on critical methods. Keep a case of 11 mm crimp vials with PTFE-faced septa for GC, volatile samples, and long unattended runs. Add deactivated vials for basic analytes and a small stock of 150 to 300 µL inserts for limited samples. That kit covers the overwhelming majority of workflows without forcing you to stock five closure systems.
The vial is the first thing your sample touches and the last thing between your analyte and the column. Specify it with the same rigor you apply to the column and the method, and the ghost peaks, the drift, and the re-runs mostly stop happening.
References & further reading
Related resources from our lab consumables network:
- Hplc Vial at hplcvialfactory.com
- Chromatography Products at chromatographyforsale.com
- Hplc Septa at hplcsepta.com
- Vial Closures at vialsclosures.com
External references and standards: