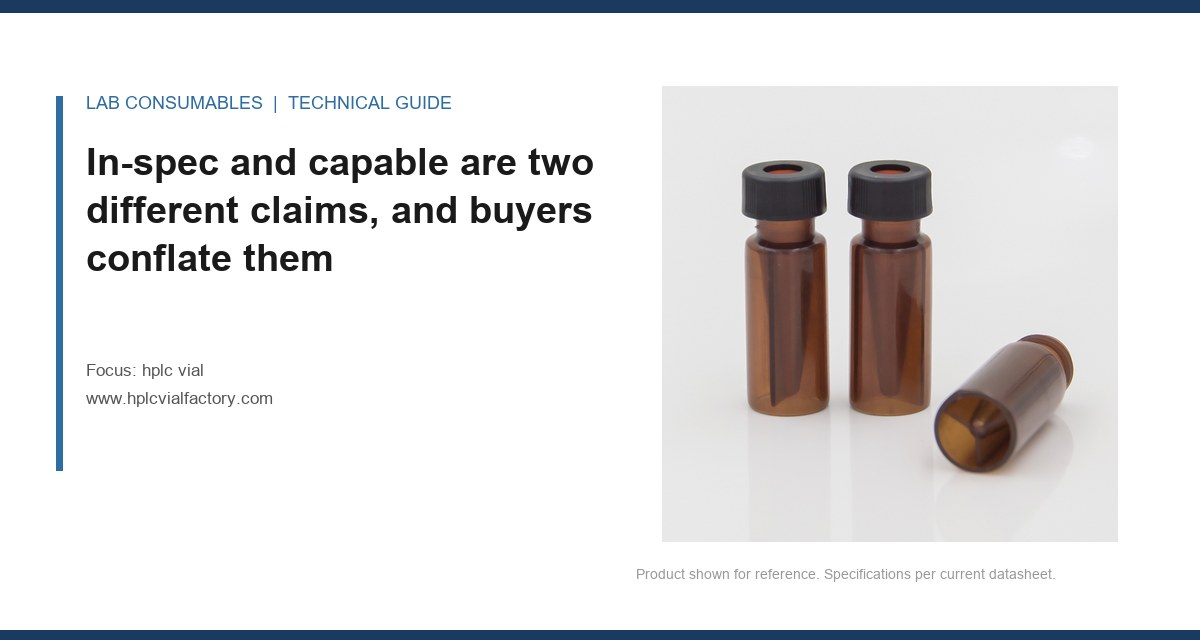
A customer sent back 14,000 crimp vials last March because their autosampler was throwing -1 errors on roughly 1 in 300 injections. The neck OD measured 11.02 mm on our gauge, well inside the 11.00 ± 0.15 mm print. Their gripper needed 10.92 mm or less to seat reliably. The print was fine. The dimensional tolerance capability was not: our Cpk on that feature was 0.71, and nobody had looked at it in eighteen months. That is the gap this article is about. Not whether a vial is “in spec,” but whether the process that made it can hold a spec tightly enough that the tail of the distribution never reaches the customer’s handling limit.
A tolerance is a promise about a single part. Capability is a promise about a population. If your drawing says 11.00 ± 0.15 mm and your Cpk is 0.71, you will pass every incoming inspection you run at n=30 and still ship failures, because a 30-piece sample cannot see a 0.3% tail. The Tail is where autosampler grippers, crimpers, and septa live.
I stopped quoting “meets dimensional requirements” in RFQs years ago. The useful question is: what is your demonstrated Cpk on the four features that govern fit, measured on the last 20 lots, with the gauge and sampling plan stated? Most suppliers cannot answer that. The ones who can usually have a control plan behind it, and that is the actual thing you are buying.
Capability is measured with the standard formula: Cpk = min[(USL − mean), (mean − LSL)] / (3σ). The σ is the within-lot standard deviation from a stable process, not the pooled σ across a year of production. Pooled σ hides drift. I want to see per-lot σ, a range chart, and the last time the process was re-centered. For vial dimensions that matter to automation, I ask for Cpk ≥ 1.33 minimum, and 1.67 on neck OD and crimp geometry, because those two features interact with metal tooling that itself wears.
Why Pp and Ppk are the numbers that actually predict returns
Cpk assumes the process is in statistical control. Ppk uses total variation including drift between lots. A molder with Cpk 1.5 and Ppk 0.9 is telling you the machine is good when it is warm and wandering over a shift. For a consumable that ships in cases of 100 to 1,000, the lot-to-lot drift is the failure mode you will experience. Ask for both. If the supplier only reports Cpk, ask what happened to the between-lot component.
What each molding process can actually hold, dimension by dimension
Vials are made three ways: injection blow molding (IBM), injection molding of the body with a separate neck insert, and injection stretch blow molding for larger formats. The process sets the achievable tolerance floor before any tooling or QC decision is made. Here is what I have measured across suppliers, on the features that matter.
| Feature | Injection blow molding | Injection molded body + insert | Injection stretch blow | Practical Cpk target |
|---|---|---|---|---|
| Neck OD (11 mm GPI) | ± 0.12 mm | ± 0.05 mm | ± 0.10 mm | 1.67 |
| Neck ID / bore | ± 0.15 mm | ± 0.06 mm | ± 0.12 mm | 1.33 |
| Overall height (32 mm) | ± 0.30 mm | ± 0.15 mm | ± 0.25 mm | 1.33 |
| Bottom thickness | ± 0.20 mm | ± 0.10 mm | ± 0.18 mm | 1.33 |
| Concentricity (neck to body) | 0.15 mm TIR | 0.08 mm TIR | 0.12 mm TIR | 1.33 |
| Crimp ring radius | ± 0.08 mm | ± 0.04 mm | n/a | 1.67 |
Read the table as a capability floor, not a spec sheet. These are the numbers a stable process can hold at Cpk 1.33 to 1.67 over 20 lots. If a supplier quotes you tighter than the left column on an IBM line, ask which gauge they use and whether the σ is within-lot or pooled. Nine times out of ten the answer is pooled, and the number is fiction.
For reference on how these dimensions interact with the closure side, the vial closures you pair with the neck determine how much of your neck-OD variation actually reaches the crimper. A closure with a generous internal chamfer absorbs 0.1 mm of neck variation. A tight one does not.
The three dimensions that are genuinely hard to control, and why
Most vial dimensions are easy. Wall thickness, body OD, height: a decent mold and a stable melt temperature will hold them all day. Three features are not, and they are the ones that generate the returns.
Neck OD on the parting line
The neck is where the mold splits. On a two-plate tool the parting line flash adds material on one side of the circumference, so the OD is not a circle but an ellipse with a flat. A micrometer across 0° and 180° reads 11.01 mm. The same micrometer at 90° reads 11.09 mm. Your Cpk calculation on a single-diameter measurement is measuring the wrong thing. I require a three-point or optical scan on neck OD, and I want the max-min spread across the parting line reported separately. If the spread exceeds 0.06 mm on a GPI 11 mm neck, the crimper will seat unevenly and you get septa that leak at 1.5 bar.
The fix is tooling, not inspection. A relieved parting line or a side-gate with a ground shutoff brings the spread under 0.03 mm. It costs about 15% more on the tool. It is the difference between a Cpk of 1.1 and 1.7.
Concentricity of the neck bore to the body
This one bites in autosamplers with fixed grippers. A vial that is 0.2 mm out of concentricity sits crooked in the tray, the needle enters at an angle, and you get coring on the septum. You will see it as fragments in the chromatogram, not as a dimensional failure, so the investigation goes to the septum first. I have spent a week chasing a HPLC septa lot that turned out to be a concentricity drift on the vial neck. The measurement that found it: a 0.05 mm dial indicator on a V-block, rotating the vial by hand. TIR was 0.19 mm against a 0.10 mm print. The fix was a re-centered core pin, and the coring stopped.
Crimp ring geometry after annealing
Glass relaxes. A crimp ring that measures 7.95 mm at the mold can move to 7.88 mm after the annealing lehr if the cooling curve is wrong. The ring is the feature the crimper deforms, so its hardness and radius both matter. I have seen a lot pass incoming dimensional inspection at 7.95 ± 0.05 mm and then fail crimp pull-off at 12 N against a 15 N minimum, because the annealing profile left the ring too soft. The measurement that caught it: a 30-piece pull-off test at 24 hours post-anneal, not at the mold. If your supplier only gauges at the mold, they are gauging a part that will change.
How to audit capability without running the supplier’s own SPC
You will not get a supplier to hand over raw SPC data on a first order. You can still verify capability with a sampling plan that costs less than a returned lot. Here is what I run on a new supplier or a new tool, and it takes about two hours of lab time per lot.
- 30 vials, three positions in the cavitation (first, middle, last), measured on neck OD at three clock positions, neck ID, height, and concentricity. That is 360 data points. Enough to see a bimodal distribution from a bad cavity.
- Gauge R&R first. If your measurement system contributes more than 10% of the tolerance, the capability number is noise. A 0.01 mm resolution micrometer on an 11 mm neck is fine. A caliper is not.
- Pull-off and torque on 20 crimped samples, at 24 hours. Target 15 N minimum pull-off and 1.2 to 1.8 N·m for a 11 mm aluminum crimp with a 1.0 mm butyl/PTFE septum. Below 1.2 N·m the seal leaks at 1.5 bar; above 1.8 N·m you crush the septum and get coring.
- Dye penetration on 10 vials at 1.5 bar for 5 minutes with the closure fitted. This catches concentricity and crimp-ring problems that dimensional gauging misses.
- Ask for the last 5 lots’ Cpk on neck OD and crimp ring radius. If the numbers are all identical to two decimals, they are calculated from a spec sheet, not from data.
For the analytical side of what a leak actually does to a run, the Thermo Fisher chromatography and sample handling resources and the Restek technical library both have good material on injection volume loss and its effect on area RSD. A 2% loss of injection volume from a slow leak shows up as an RSD of 4 to 6% on early-eluting peaks, which is exactly the symptom people blame on the autosampler.
Two field cases where the tolerance was the whole story
Case 1: the 11.09 mm neck that passed every gauge
A pharma customer on a 2 mL crimp format reported intermittent crimper jams, roughly 1 in 400 vials, on an automated crimper set to 1.5 N·m. Incoming inspection at n=50 passed. I pulled 200 vials and measured neck OD at 0°, 90°, 180°, and 270°. The mean was 11.04 mm, well inside print. The max-min spread across the parting line was 0.11 mm on 18 of the 200. Those 18 were the jams. The crimper collet closed on the flat and the vial cocked.
The fix was a tooling change: a relieved parting line on the neck insert, bringing the spread to 0.03 mm. Cpk on the spread went from 0.68 to 1.52. Jam rate dropped to zero over the next 40,000 vials. The lesson is that the print was correct and the process was not capable, and only a multi-position measurement caught it.
Case 2: the height drift that broke the tray
A contract lab running a 96-position autosampler started getting “vial not detected” errors on positions 70 to 96. Height was printed at 32.00 ± 0.30 mm. Measured at the mold, the lot was 31.98 mm. Measured at the customer, it was 31.71 mm on the last 27 positions. The vials had been stored in a hot trailer for four days in July, and the base had crept because the annealing profile left residual stress in the bottom. The bottom thickness was 0.9 mm against a 1.1 mm print on that lot, and thin bottoms creep under stack load at 45 °C.
The measurement that identified it: a height check on vials taken from the top and bottom of the case, after 72 hours at 40 °C. The bottom-of-case vials had lost 0.22 mm. The fix was a bottom-thickness control at 1.1 mm minimum and a revised annealing curve. The dimensional capability on height was never the problem. The capability on bottom thickness under thermal load was.
What to put in the purchase order so capability is enforceable
A drawing with tolerances is not a capability requirement. Here is the language I use, and it has survived three supplier audits without argument.
- Feature-specific Cpk: neck OD, neck ID, concentricity, and crimp ring radius at Cpk ≥ 1.33, with neck OD and crimp ring at ≥ 1.67. Reported per lot, within-lot σ, gauge and sampling plan stated.
- Measurement method: neck OD by three-point or optical scan, not single-diameter caliper. Concentricity by dial indicator TIR. Crimp ring radius by profile projector at 20x.
- Post-anneal verification: dimensional check at 24 hours after annealing, not at the mold. Crimp pull-off ≥ 15 N on 20 samples per lot.
- Drift trigger: if any feature’s lot mean moves more than 1σ from the trailing 10-lot mean, the supplier notifies before shipment. This is the clause that catches the slow drifts that pass every individual lot.
- GPI reference: neck threads to GPI 11 mm per the standard, with the thread profile and root radius called out on the drawing. Vague “GPI compatible” language is not a tolerance.
If you are sourcing across formats, the same capability logic applies to the HPLC vial range and to the wider chromatography products you pair with it, but the critical features change. A 9 mm short-thread vial has a different crimp ring geometry and a tighter concentricity requirement because the neck is shorter and the gripper has less to hold. Ask for capability on the features that touch your automation, not on the ones that are easy to measure.
For method-level context on how vial geometry interacts with regulated workflows, the U.S. EPA SW-846 test methods and the instrument vendor’s consumable specs (Agilent publishes dimensional drawings for its chromatography consumables and columns) are the two references I check before writing a drawing. If the instrument vendor’s gripper spec and your vial print disagree by more than 0.05 mm, the print is wrong.
Decision rule
Do not accept a vial on the basis of a passing inspection. Accept it on the basis of a demonstrated Cpk of at least 1.33 on the four fit-critical features, measured within-lot with a stated gauge, verified post-anneal, and backed by a drift notification clause. If the supplier cannot produce that number, the tolerance on the drawing is decoration, and the tail of the distribution will find your autosampler eventually. The capability number is the only part of the specification that predicts what happens on vial 40,000, and it is the only thing worth negotiating on.
References & further reading
Related resources from our lab consumables network:
- Hplc Vial at hplcvialfactory.com
- Chromatography Products at chromatographyforsale.com
- Hplc Septa at hplcsepta.com
- Vial Closures at vialsclosures.com
External references and standards: