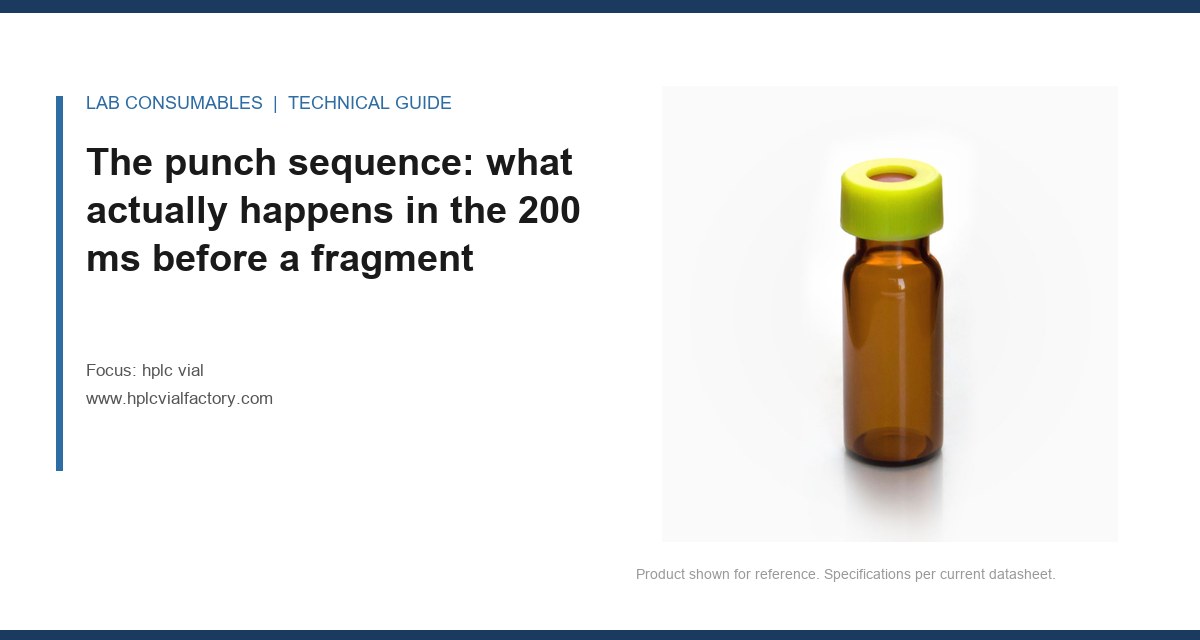
On a 12.5-minute gradient running 40 vials, the last vial in the tray came back with a main-peak area 3.8% below the bracketing standard, and the injection before it was 2.1% low. The method was validated, the column was three weeks old, and the autosampler had just been serviced. The cause was a box of vials pulled from a different supplier lot: the septa were 1.0 mm thick instead of 1.5 mm, and the needle was coring them on the third puncture. That run is why I now treat USP requirements for an HPLC vial in a validated method as a specification problem, not a paperwork problem. The chapters tell you what has to be true. They do not tell you which vial to buy. That gap is where methods fail.
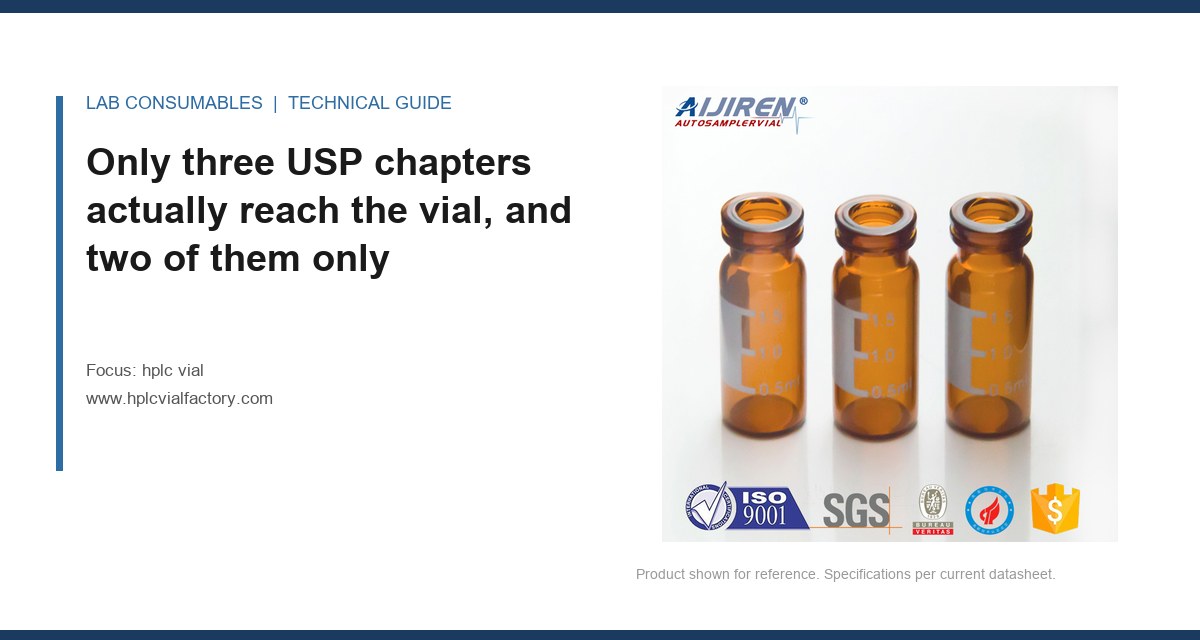
Only three USP chapters actually reach the vial, and two of them only indirectly
Most of what people call “USP compliance” for consumables is a chain of inference. The vial is a container, not a reagent, and USP does not publish a chapter called “HPLC vials.” What it publishes is a set of general chapters that constrain the container because the container touches the sample. Here is the real map.
- USP <1058> Analysis of Biotechnology-Derived Articles and the general system suitability chapter <621> set the performance bar. System suitability is measured on the standard and the sample, but the sample passes through the vial. If the vial adsorbs, leaches, or evaporates, suitability fails and the analyst blames the column.
- USP <660> Containers: Glass and Plastic is the closest thing to a vial chapter. It addresses chemical resistance and the suitability of glass and plastic containers for pharmaceutical use. It is written for packaging, but the same glass chemistry applies to a 2 mL autosampler vial.
- USP <661> Plastic Packaging Systems and Their Materials of Construction and <661.1> (plastic materials) and <661.2> (plastic packaging systems) govern anything polymeric in the flow path, which means the septa and any plastic closure.
- USP <1663> Assessment of Extractables and Leachables is the interpretive chapter. It tells you how to think about what comes off the container into the sample.
None of these chapters say “use a 9 mm screw-thread vial with a 1.5 mm silicone/PTFE septum.” They say the container must not change the article in a way that matters. The translation from chapter to purchase order is the lab’s job, and it is the part that gets skipped.
I keep a one-page crosswalk taped inside the method binder. Left column: the chapter and the clause. Right column: the physical property it forces me to specify. <660> hydrolytic resistance becomes “Type I borosilicate, pH drift under 0.5 units in 24 hours.” <661.1> suitability becomes “septum extractables below blank threshold.” <621> repeatability becomes “RSD of six replicate injections under 2.0%.” That crosswalk is the difference between a method that survives a supplier change and one that does not.
What <661> actually demands of a septum, in practice
Chapter <661.1> requires that plastic materials be tested for physical and chemical properties and that they be shown suitable for the intended use. For a septum, the intended use is being punctured 20 to 100 times by a 22-gauge needle at autosampler speed while sitting on top of a volatile solvent. Three properties drive almost every failure I have seen.
Extractables in the solvent you actually use
A silicone/PTFE septum is not inert. The silicone core is the elastic layer; the PTFE film is the barrier. If the PTFE is thin (some budget septa use 0.05 mm film over 1.0 mm silicone), the needle drags silicone into the sample path and you get siloxane peaks. On a UV detector at 210 nm you may not see them. On a mass spec or a charged aerosol detector you will, and they will land in the 4 to 8 minute window where nobody expects them. The practical test is not a USP chapter, it is your own: inject a blank vial filled with your diluent, run the full gradient, and look for peaks above 0.05% of your main component area. If you see them, the septum is the suspect, not the mobile phase.
Run that blank in triplicate, not once. A single blank tells you almost nothing because a coring event is intermittent. I have watched a blank come back clean on injection one and show a 0.09% siloxane peak on injection three from the same vial. Three blanks across 30 minutes on the full gradient catches most of it. If you are running a mass spec, drop the threshold to 0.01% and add a scan for m/z 73 and 147 (the classic siloxane fragments). Those two ions will tell you in five minutes whether the septum is the source.
Puncture resistance and coring
USP does not specify a puncture count. Your method does, implicitly, because the autosampler will puncture each septum 1 to 3 times depending on needle wash and loop design. A 1.5 mm silicone/PTFE septum with a PTFE film on the sample side will take 50 to 100 punctures before coring becomes visible. A 1.0 mm septum from an unknown lot may core at 10. Coring produces a fragment that either blocks the needle or, worse, sits in the vial and gets aspirated on the next injection. If your method uses a 100 µL injection volume from a 300 µL sample, a fragment at the bottom of the vial is a real risk.
The puncture test I run is simple and takes ten minutes. Fill one vial with your diluent, crimp it, and run the needle through the same septum 50 times in a row without moving the vial. Then pull the needle and look at the bore under a 10x stereoscope, and look at the septum for a visible hole larger than the needle OD. A 22-gauge needle is about 0.72 mm OD. If the hole is more than about 1.0 mm across, the septum is coring and the lot is suspect. I have rejected two lots on that test in five years, and both would have caused ghost peaks within a week.
Closure integrity and evaporation
For volatile analytes, the seal is the spec. A crimp cap with an 11 mm aluminum seal and a PTFE-faced septum holds better than a screw cap with a soft silicone liner, but only if the crimp is set right. Crimp torque is not a torque in the wrench sense; it is a crimp height. A properly crimped 11 mm cap has a crimp height of about 5.5 to 6.0 mm measured at the seal skirt. Too loose and the vial leaks; too tight and you crack the neck or deform the septum. I have seen a 12-hour autosampler run lose 8% of a volatile internal standard because the crimper was 0.4 mm out of adjustment. That is not a USP failure on its face, but it is a <621> system suitability failure by the time the run ends.
Screw caps are a different animal. The torque target depends on the closure design and the liner durometer, but for most 9 mm screw closures I set the capper to 0.8 to 1.2 N·m and verify with a torque tester on 10 caps per setup. Under 0.8 N·m and the cap backs off during a long run. Over 1.2 N·m and you deform the liner and split the PTFE film at the seal face. Both failure modes look identical on the chromatogram: a slow drift in the internal standard that the analyst blames on the autosampler.
| Parameter | Typical budget spec | Spec I would write into a validated method | USP chapter that forces the question |
|---|---|---|---|
| Septa thickness | 1.0 mm silicone | 1.5 mm silicone, PTFE film on sample side | <661.1> suitability for use |
| PTFE film thickness | 0.05 mm | 0.10 mm minimum | <1663> extractables assessment |
| Puncture count before coring | 10 to 20 | 50 minimum, verified per lot | <621> system suitability |
| Closure type | Screw, soft liner | Crimp, 11 mm, PTFE-faced, crimp height 5.5 to 6.0 mm | <660> container integrity |
| Glass | Type I borosilicate, unspecified | Type I borosilicate, USP <660> hydrolytic resistance | <660> glass containers |
| Fill volume vs. vial size | Any | At least 50% headspace for volatile methods | <621> repeatability |
The lab’s own specification is where the method actually lives
Here is the part that surprises people new to this: the USP chapters set the floor, and the validated method sets the ceiling. Your method validation report should contain a vial specification, and if it does not, you have a gap that will bite you at the first supplier change. I write that spec as four numbers and two material calls.
- Dimensions: 12 x 32 mm, 2 mL nominal, 9 mm screw thread or 11 mm crimp, neck ID matched to the autosampler needle guide.
- Glass: Type I borosilicate, hydrolytic resistance per <660>, with a documented pH drift of less than 0.5 units over 24 hours in your diluent.
- Septa: silicone/PTFE, 1.5 mm, film on the sample side, extractables below your blank threshold.
- Closure: crimp height 5.5 to 6.0 mm or screw torque 0.8 to 1.2 N·m depending on closure design.
That spec is what you put in the purchase order and what you audit against. The USP chapters are what you cite when someone asks why the spec exists. If you are sourcing across a network, the HPLC vial range and the matching HPLC septa should be specified together, because a vial and a septum bought from different suppliers is where most of these failures start.
One more number to put in the spec: the neck ID tolerance. A 9 mm screw-thread vial with a neck ID of 6.0 mm ± 0.1 mm guides the needle cleanly. I have seen lots come in at 6.3 mm, and the needle wanders enough to nick the septum edge on every tenth injection. That nick is invisible until you get a coring fragment. The neck ID is cheap to measure with a pin gauge and it is the first thing I check on a new lot.
Two field cases: the symptom, the measurement, the fix
Case 1: a drifting internal standard on a 24-hour run
Symptom: a validated method for a volatile analyte lost 6 to 9% of the internal standard area over 24 hours, with the loss concentrated in vials 30 through 60 of the tray. Early vials were fine.
Measurement: we weighed 10 vials before and after the run on a balance reading to 0.1 mg. The worst vial lost 1.8 mg over 24 hours, which for a 500 µL fill is roughly 0.4% by mass, but the headspace equilibration magnified it into a 9% area loss. The crimp height on those vials measured 6.4 mm, above the 6.0 mm upper limit, meaning the crimper was over-closing and deforming the septum.
Fix: recalibrated the crimper to 5.7 mm, switched to a PTFE-faced septum with a 0.10 mm film, and added a gravimetric leak check to the method’s setup procedure. The internal standard RSD dropped from 4.1% to 1.2% across the tray.
Case 2: a late-eluting ghost peak that only appeared on re-injection
Symptom: a single unknown peak at 11.2 minutes appeared on about 1 in 15 injections, always on the second or third puncture of a vial, never on the first.
Measurement: we ran the same sample in three vial types: the incumbent, a competitor with a 1.0 mm septum, and a lot with a 1.5 mm septum and a thicker PTFE film. The ghost peak appeared only with the 1.0 mm septum, and its area scaled with puncture count. A needle inspection under a stereoscope showed a silicone shard lodged in the needle bore.
Fix: moved to the 1.5 mm septum, added a needle inspection to the weekly PM, and wrote a puncture-count limit of 50 into the method. Ghost peak gone.
What <1663> expects you to document, and what it does not
Chapter <1663> is a framework, not a test method. It asks you to identify potential extractables, assess the risk, and control the ones that matter. For a vial, that means you should be able to answer three questions in writing:
- What comes off the septum and the glass in your diluent, at your temperature, over your run time?
- At what concentration does that become a problem for your detector and your acceptance criteria?
- What control (supplier spec, incoming test, or both) keeps it below that threshold?
What <1663> does not do is give you a number. It will not tell you that 0.05% of main component area is acceptable. That number comes from your method validation and your own risk assessment. This is the single most common misunderstanding I run into: people expect the chapter to hand them a limit, and it deliberately does not.
I build the extractables case in three steps. First, a solvent blank in a clean vial on the full gradient, triplicate, to establish the baseline. Second, a “forced” extract: fill a vial, cap it, and hold it at 60 °C for 24 hours to accelerate anything that would leach over a normal run. Third, compare the forced extract to the baseline and list every peak above your threshold. That list is your extractables profile. It does not need to be exhaustive in the <1663> toxicological sense, because the vial is not a packaging system for a drug product. It needs to be complete enough that a supplier change cannot introduce a peak you have not already seen.
If you want a starting point for the extractables work, the technical resources at Restek and the application notes from Agilent and Thermo Fisher cover septum bleed and ghost-peak troubleshooting in enough detail to build a blank-injection protocol. The EPA SW-846 series at epa.gov is also useful as a cross-check on blank and calibration acceptance criteria, even though it is not a USP document.
A decision checklist for writing the vial into the method
When I validate or revalidate a method, I run this checklist before the first injection. It takes about 20 minutes and has saved me more than one failed run.
- Confirm the closure type against the autosampler: 9 mm screw, 11 mm crimp, or snap. Wrong closure is a needle-bend waiting to happen.
- Measure the crimp height on 10 vials with a crimp gauge. Target 5.5 to 6.0 mm. Reject the lot outside that band.
- Run a blank injection in your diluent on the full gradient, in triplicate. Any peak above 0.05% of main component area is a flag.
- Puncture test a single vial 50 times with the method’s needle and inspect the septum and needle bore.
- Check the neck ID with a pin gauge. Target 6.0 mm ± 0.1 mm for 9 mm screw vials.
- Gravimetric leak check: weigh 5 filled vials before and after a 24-hour run. Loss above 0.5% by mass means the closure is not holding.
- Document the supplier and lot in the method file, with the septum thickness and PTFE film thickness written as acceptance criteria.
If you are building a method from scratch, the chromatography products catalog and the vial closures range are the places to match closure to vial before you write the spec. Getting the closure and the septum from the same qualified source is worth more than a few cents per vial.
The decision rule
Write the vial specification into the method validation report as a controlled document, with the septum thickness, PTFE film thickness, puncture count, crimp height or torque, neck ID, and blank-injection threshold all stated as numbers. Cite <660>, <661>, <621>, and <1663> as the basis for the spec, but do not expect any of them to give you the limit. The limit is yours. If a supplier cannot provide a lot certificate that matches your spec to within the tolerances you wrote, that supplier is not qualified for a validated method, no matter what the box says. And if the spec is not in the method file, you do not have a validated method for the vial. You have a validated method for everything except the container the sample sits in.
References & further reading
Related resources from our lab consumables network:
- Hplc Vial at hplcvialfactory.com
- Chromatography Products at chromatographyforsale.com
- Hplc Septa at hplcsepta.com
- Vial Closures at vialsclosures.com
External references and standards: