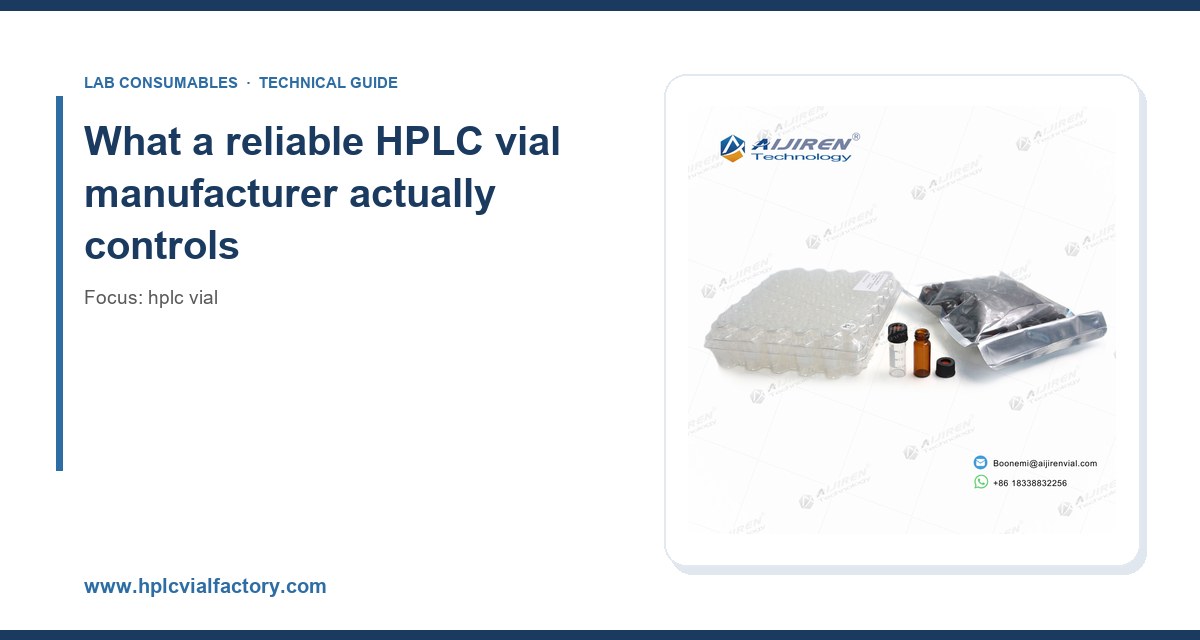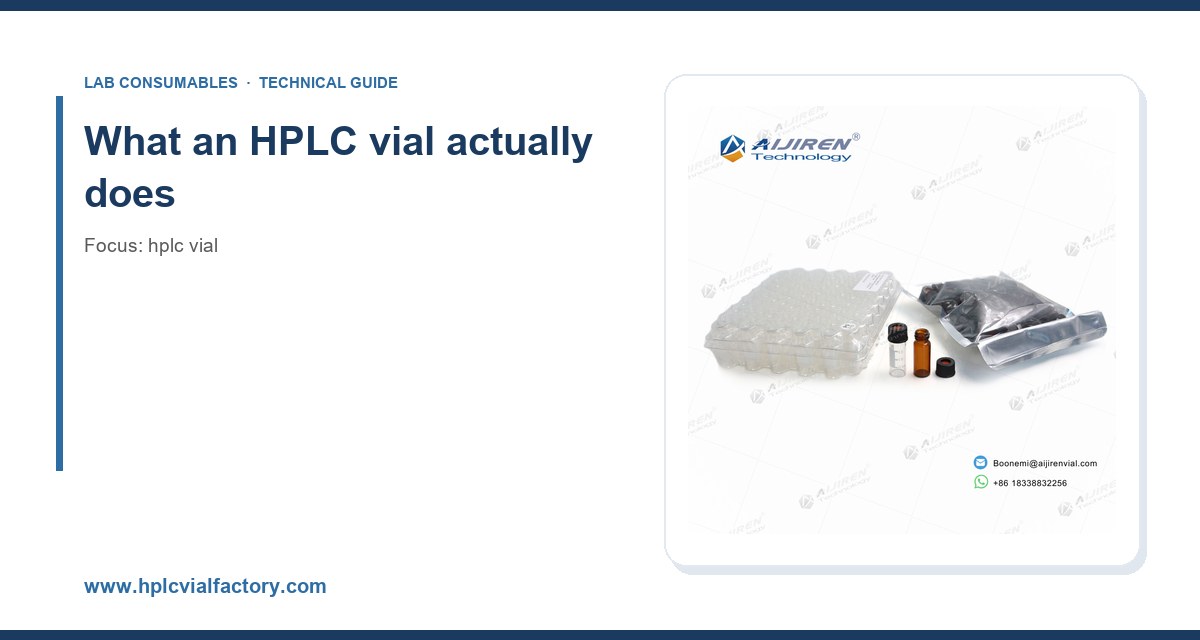
I have watched a technician crack a 2 mL vial neck with a screwdriver because the autosampler kept throwing “vial not found” errors. The vial was fine. The cap was wrong, the crimper was set too tight, and nobody had checked the septum durometer against the needle gauge. That afternoon cost us a day of sample prep and a batch of EPA 8270 extracts. Most HPLC vial problems are not vial problems. They are closure problems, septum problems, or a mismatch between the glass and the instrument. This guide covers how to buy a vial that actually fits your autosampler, your needle, your solvent, and your temperature program.
A vial is a container, but in an autosampler it is also a mechanical interface. The instrument grips the cap, pierces the septum, withdraws a volume between 0.1 µL and 100 µL, and then moves on. Every one of those steps depends on dimensional tolerances that are measured in tenths of a millimeter. A 12 x 32 mm vial that is 0.3 mm too tall will jam a carousel. A septum that is 0.5 mm too thin will leak or corrugate under vacuum. A cap that is not torqued uniformly will cause the needle to bend on entry.
The three components are always sold separately or as a kit: the glass vial body, the septum, and the cap (either crimp or screw). I treat them as a system. Buying glass from one supplier and caps from another is fine if you verify the interface. Buying them without checking the GPI thread specification is how you end up with cross-threaded caps and septa that do not seat.
If you are sourcing the whole system, the HPLC vial range at hplcvialfactory.com is organized by instrument family, which saves you the cross-reference work. For septa and closures as separate line items, HPLC septa and vial closures are the two other places I check first when I am building a bill of materials.
Glass: the first decision that matters
Type I borosilicate versus Type III soda-lime
Type I borosilicate (borosilicate 3.3, USP Type I) is the default for HPLC. It has low alkali leaching, low extractables, and it tolerates the pH excursions that come with phosphate buffers and dilute acids. Type III soda-lime glass is cheaper and is fine for short contact times with neutral solvents, but I have seen it fail on two counts: alkaline hydrolysis at pH 8 and above, and sodium leaching that shows up as a baseline drift in ion chromatography or as a metal adduct in LC-MS.
If you are running LC-MS with a low-flow source and a 0.1% formic acid mobile phase, use Type I. The glass cost difference is pennies per vial. The re-run cost is not.
Clear, amber, and silanized
Amber glass (usually Type I with an amber oxide layer) is for light-sensitive analytes: vitamins, some antibiotics, a long list of pesticides. Amber does not protect against all wavelengths, and it does not protect the septum from light. If your analyte is photolabile, wrap the autosampler tray or use a cooled, dark tray as well.
Silanized (deactivated) glass is worth the premium for basic analytes and for any method where you see peak tailing that disappears when you switch vials. The silanization passivates surface silanols that would otherwise hydrogen-bond with amines and quaternary ammonium compounds. I have measured tailing factors drop from 2.1 to 1.3 on a basic drug simply by moving from untreated to silanized glass. That is a real number from a real method, and it is the kind of thing you only find by running the comparison.
Glass quality you can see
Look at the bottom of the vial under a loupe. A good vial has a flat, concentric interior base with no visible seams or “push-up” from the mold. A bad one has a rounded interior corner that traps 5 to 10 µL of sample and makes your low-volume injections unreliable. For methods that inject 1 µL from a 100 µL fill, the interior geometry is the difference between a reproducible peak area and a coin flip.
Dimensions: the numbers that decide fit
The two formats you will see in 95% of HPLC labs are 12 x 32 mm (2 mL nominal, ~1.5 mL working volume) and 6 x 32 mm (300 µL nominal, ~150 to 250 µL working). There are also 9 mm and 11 mm screw-thread formats, 8 x 35 mm for some older autosamplers, and a growing family of 12 x 32 mm vials with internal inserts molded in.
| Format | Nominal volume | Working volume | Typical use |
|---|---|---|---|
| 12 x 32 mm, 9 mm screw | 2 mL | 1.5 mL | Standard HPLC autosamplers |
| 12 x 32 mm, 11 mm crimp | 2 mL | 1.5 mL | GC, older HPLC, headspace |
| 12 x 32 mm, 11 mm snap | 2 mL | 1.5 mL | High-throughput screening |
| 6 x 32 mm, 9 mm screw | 300 µL | 150–250 µL | LC-MS, limited sample |
| 12 x 32 mm with 150 µL insert | 2 mL | 150 µL | Precious samples |
Two tolerances matter more than the nominal dimensions. The crimp height (the distance from the vial base to the top of the crimped cap) should be 5.5 to 5.7 mm for a standard 11 mm aluminum crimp. If it is under 5.4 mm, the needle may not fully penetrate the septum. Over 5.8 mm and the vial will not seat in the autosampler tray. The second tolerance is the neck OD: 11.0 ± 0.2 mm for 11 mm crimp, 9.0 ± 0.2 mm for 9 mm screw. Out-of-spec necks cause cap wobble and needle deflection.
For the 9 mm screw format, the thread is specified by GPI (Glass Packaging Institute) as GPI 9-425. If you buy a cap that claims “9 mm” but is not GPI 9-425, it will cross-thread. I have had to reject entire cases for this. Ask for the GPI drawing before you sign a purchase order.
Septa: the component that causes most of your problems
The septum is the cheapest part of the system and the one I spend the most time specifying. It has to do four things: seal against the cap, allow the needle to pass, reseal after withdrawal, and not shed particles or leachables into the sample.
Material selection
- Silicone (usually silicone with a PTFE face). Good reseal, wide temperature range, but high extractables if the sample touches the silicone directly. Always specify PTFE-faced silicone for HPLC.
- PTFE/silicone (PTFE on the sample side, silicone on the cap side). The workhorse for HPLC. Temperature rating typically -40 °C to 200 °C. Puncture count: 3 to 5 before reseal degrades.
- PTFE/silicone with a slit (pre-slit). Reduces coring and needle bending, especially with 22-gauge or finer needles. Trade-off: slightly higher evaporation rate on long runs. If your run is under 12 hours, pre-slit is fine.
- Butyl rubber. Excellent gas barrier, poor solvent resistance. Use for headspace GC, not for HPLC with acetonitrile.
- Natural rubber. Cheap, high extractables, avoid for anything with a mass spec detector.
The PTFE face thickness matters. A 0.1 mm PTFE film is standard. Anything thinner and the needle can drag silicone into the sample. Anything thicker and the needle has to work harder to penetrate, which increases the risk of bending fine needles.
Puncture count and needle gauge
Every septum has a finite number of punctures before it leaks. For a standard PTFE/silicone 11 mm septum, I plan on 3 to 5 punctures in a single position. If your autosampler uses the same vial for multiple injections across a sequence, count them. A 96-injection sequence on the same vial will fail. A 6-injection sequence on a fresh vial will not.
Needle gauge changes the math. A 22-gauge needle (0.72 mm OD) puts less stress on the septum than a 26-gauge (0.46 mm OD), which is counterintuitive until you realize that fine needles are more likely to core the septum and leave a plug. For LC-MS with 26-gauge needles, use pre-slit septa and replace them every 3 punctures.
Caps and closures: crimp, screw, or snap
Crimp caps
Crimp caps are 11 mm aluminum with a septum inside. They form the best seal and are the standard for GC and headspace. The downside is that they require a crimper, and crimper settings drift. I check crimp height with a go/no-go gauge every 100 vials. If you do not have a gauge, buy one. It costs less than a single lost sequence.
Crimp torque is not a thing (crimping is a deformation, not a torque), but crimp force is. A manual crimper should be set so that the cap skirt folds over the vial neck without crushing the glass. If you hear glass cracking, the crimper is too tight. If the cap spins freely after crimping, it is too loose.
Screw caps
Screw caps are 9 mm (GPI 9-425) or 11 mm. They are reusable in the sense that you can remove and re-cap, but I do not recommend reusing a septum more than once. The cap itself can be reused if it is not deformed. Screw caps are the right choice for automated workflows because they do not require a crimper and they are more forgiving of operator technique.
Torque matters here. For a 9 mm screw cap with a PTFE/silicone septum, 0.5 to 1.0 N·m is the working range. Below 0.5 N·m you get leaks and evaporation. Above 1.0 N·m you deform the septum and can crack the neck. A torque screwdriver with a 0.1 N·m resolution is a $60 purchase that will save you a $600 re-run. I keep one on the bench and check it monthly.
Snap caps
Snap caps are for high-throughput screening and for workflows where the operator cannot be trusted with a crimper. They seal well enough for short HPLC runs but are not recommended for long sequences or for volatile solvents. The snap force varies by manufacturer, and a cap that snaps too easily will pop off in a carousel. Test a case before you commit.
If you are standardizing across instruments, the vial closures catalog is organized by thread and by instrument family, which makes it easier to build a single closure standard for a lab with mixed Agilent, Waters, and Shimadzu systems.
Chemical compatibility: the part buyers skip
I have seen a lab dissolve the print off a vial label with acetone and then wonder why the autosampler could not read the barcode. Compatibility is not just about the glass. It is about the septum, the cap coating, and the label adhesive.
- Acetonitrile, methanol, water, buffers: Type I glass, PTFE/silicone septum, standard cap. No issues.
- Dichloromethane, chloroform, THF: Type I glass is fine, but the septum swells. Use PTFE-faced silicone and replace every 2 punctures. Avoid natural rubber entirely.
- Strong acids (pH < 2): Type I glass, but check the cap coating. Some aluminum caps have a lacquer that hydrolyzes. Use uncoated aluminum or a polymer cap.
- Strong bases (pH > 9): Type I glass only. Soda-lime will leach sodium and silicate. If you are running a pH 10 method, consider a polymer vial (PFA or PP) instead of glass.
- DMSO, DMF: These dissolve many label adhesives and can extract plasticizers from some cap liners. Use a glass vial with a PTFE-faced septum and avoid plastic caps.
For a deeper compatibility matrix, the Restek technical resources are a good starting point, and the Thermo Fisher chromatography and sample handling pages have instrument-specific guidance on what their autosamplers will accept.
Temperature and pressure: when the vial is the weak link
Standard HPLC runs at 4 to 40 °C. At those temperatures almost any vial works. The problems start when you push the envelope.
For headspace GC, the vial is heated to 60 to 200 °C. The septum has to hold pressure without extruding. Use a butyl or PTFE/silicone septum rated to at least 20 °C above your oven temperature, and use a crimp cap with a proper crimp height (5.5 to 5.7 mm). A loose crimp at 150 °C will vent and you will lose the sample.
For UHPLC at high pressure, the vial itself is not pressurized, but the autosampler loop is. The vial only sees atmospheric pressure plus whatever the needle seal generates. The real risk is the septum deforming under the needle and then not resealing. Pre-slit septa help here.
For lyophilization or cold storage, check the low-temperature rating of the septum. Standard silicone is good to -40 °C. Below that, the septum hardens and may crack on puncture. If you are storing at -80 °C, use a vial rated for it and let it come to room temperature before puncturing.
Autosampler compatibility: the checklist
This is the part where buyers get burned. Every autosampler has a preferred vial format, and the manufacturer’s accessory list is the only reliable source. Here is the checklist I use before I place an order:
- Instrument model and tray type. A 12 x 32 mm vial fits a standard 100-position tray but not a 6 x 32 mm tray. Confirm the tray part number.
- Vial height tolerance. Most autosamplers accept 32.0 ± 0.4 mm. Check the manual.
- Cap diameter. 11 mm crimp caps will not fit a 9 mm tray. 9 mm screw caps will not fit an 11 mm tray.
- Needle gauge and septum type. 26-gauge needles need pre-slit septa. 22-gauge is fine with standard.
- Injection volume and vial volume. Never inject more than 50% of the working volume in a single draw. For a 1.5 mL working volume, that is 750 µL. For a 150 µL insert, that is 75 µL.
- Carousel or tray grip. Some autosamplers grip the cap, some grip the body. A cap that is too tall will jam a cap-grip tray.
- Barcode or RFID. If you use vial tracking, confirm the label position does not interfere with the tray grip.
For Agilent instruments, the Agilent chromatography consumables and columns pages list the exact vial part numbers by instrument. Cross-reference before you buy from a third party. The third-party vial may be dimensionally identical, but the tray grip can differ by 0.2 mm.
Contamination and extractables: the invisible cost
Every vial contributes extractables to the sample. The question is how much and whether it matters for your detection limit. For UV detection at 254 nm, most Type I vials are fine. For LC-MS at 1 pg on column, they are not.
The main sources of contamination are:
- Glass surface: sodium, calcium, and boron leach at high pH. Silanization reduces but does not eliminate this.
- Septum: plasticizers, antioxidants, and silicone oligomers. PTFE-facing reduces but does not eliminate this.
- Cap liner adhesive: some caps use a hot-melt adhesive that outgasses. Look for caps with no adhesive or with a solvent-resistant adhesive.
- Manufacturing residue: mold release agents and dust. A good supplier washes and packages in a cleanroom. Ask for the cleaning validation.
I run a blank injection from a new lot of vials before I release it to the lab. One injection of mobile phase from a randomly selected vial, run on the same method as the samples. If the blank shows peaks above the method’s LOQ, the lot is rejected. This takes 20 minutes and has caught two bad lots in five years. Both were septum-related.
Buying decisions: cost per injection, not cost per vial
A 2 mL Type I clear vial with a PTFE/silicone septum and a 9 mm screw cap costs between $0.15 and $0.40 depending on volume and supplier. A silanized version costs $0.25 to $0.60. An insert vial costs $0.50 to $1.20. Those are list prices, and they are not the number that matters.
The number that matters is cost per injection, which includes:
- Vial and cap cost
- Sample prep time
- Re-run rate (from leaks, coring, or contamination)
- Instrument downtime (from jams)
- Disposal cost
A vial that costs $0.10 less but causes one re-run per 100 injections is more expensive than the premium vial. I have run this math for labs and the break-even is usually around a 2% re-run rate. If your current vial has a re-run rate above 2%, switch. If it is below 1%, the premium vial is not worth it unless you have a specific compatibility or contamination reason.
A decision checklist with numbers
| Requirement | Specification | Why |
|---|---|---|
| Standard HPLC, UV detection | 12 x 32 mm, Type I clear, PTFE/silicone, 9 mm screw | Lowest cost per injection, widest compatibility |
| LC-MS, low detection limit | 12 x 32 mm, Type I silanized, PTFE/silicone pre-slit, 9 mm screw | Reduces silanol interactions and coring |
| Headspace GC | 20 mL, 11 mm crimp, butyl or PTFE/silicone, crimp height 5.5–5.7 mm | Pressure and temperature resistance |
| Precious sample (< 200 µL) | 6 x 32 mm, 300 µL, or 12 x 32 mm with 150 µL insert | Minimizes dead volume |
| pH > 9 method | Type I glass or PFA/PP polymer vial | Prevents alkali leaching |
| Photolabile analyte | Amber Type I glass, dark tray | Protects sample from light |
| High-throughput screening | 12 x 32 mm, 11 mm snap cap | No crimper, fast capping |
| Long sequence (> 12 h) | Standard (not pre-slit) septum, screw cap at 0.5–1.0 N·m | Reduces evaporation |
Troubleshooting checklist
When a run fails, work through this list in order. In my experience, 80% of “vial problems” are one of the first four items.
- Vial not found or vial jam. Check vial height (32.0 ± 0.4 mm) and cap diameter. Check the tray for a mis-seated vial.
- Needle bending. Check septum type (pre-slit for fine needles), cap torque (0.5–1.0 N·m for 9 mm screw), and crimp height (5.5–5.7 mm).
- Peak area RSD > 2%. Check for leaks at the septum (replace), evaporation (check cap torque), and sample volume (should be > 50% of working volume).
- Ghost peaks or baseline drift. Run a blank from a new vial lot. Check septum extractables and glass leaching.
- Sample loss on storage. Check septum reseal (puncture count), cap torque, and storage temperature.
- Cross-contamination between samples. Check for coring (septum particles in the vial) and for carryover in the autosampler needle.
What I recommend
For a general HPLC lab running UV or DAD detection, standardize on 12 x 32 mm Type I clear glass, 9 mm screw thread (GPI 9-425), PTFE/silicone septum, 0.5 to 1.0 N·m torque. Buy caps and septa as a single assembled unit to eliminate the seating variable. Verify the GPI drawing and the crimp height tolerance before you commit to a supplier.
For LC-MS, add silanization and pre-slit septa, and run a blank from every new lot. For headspace GC, use 20 mL crimp vials with butyl septa and a go/no-go crimp gauge. For precious samples, use 6 x 32 mm vials or inserts and never inject more than 50% of the working volume.
If you are building a catalog for a multi-instrument lab, the chromatography products index at chromatographyforsale.com is a useful cross-reference for instrument-specific formats, and the U.S. EPA SW-846 test methods are the reference for regulatory methods that specify vial and septum requirements for environmental samples.
None of this is complicated. It is just detail work that most buyers skip because the vial is the cheapest line item on the requisition. The lab pays for that skip in re-runs, in instrument downtime, and in the technician’s afternoon spent fishing a cracked vial out of a carousel. Specify the glass, the septum, the thread, and the torque. Check the crimp height. Run the blank. The rest takes care of itself.
References & further reading
Related resources from our lab consumables network:
- Hplc Vial at hplcvialfactory.com
- Chromatography Products at chromatographyforsale.com
- Hplc Septa at hplcsepta.com
- Vial Closures at vialsclosures.com
External references and standards: