I have spent the better part of two decades buying, qualifying, and occasionally rejecting HPLC vials by the pallet load. The single most expensive lesson I learned early on was that two manufacturers can ship a vial with identical drawings stamped on the box and still deliver completely different results on the autosampler. One runs clean for 2,000 injections. The other produces a creeping baseline, a phantom peak at 3.2 minutes, and a frustrated analyst who blames the column. The difference is never the drawing. It is the glass chemistry, the dimensional discipline, the closure interface, and whether the factory actually understands what happens when a needle punches through a septum at 60 psi.
This article covers what I look for when I audit or qualify an HPLC vial manufacturer for OEM supply. It is written from the procurement and QC side, not the marketing side, and it includes the numbers I actually use on a specification sheet.
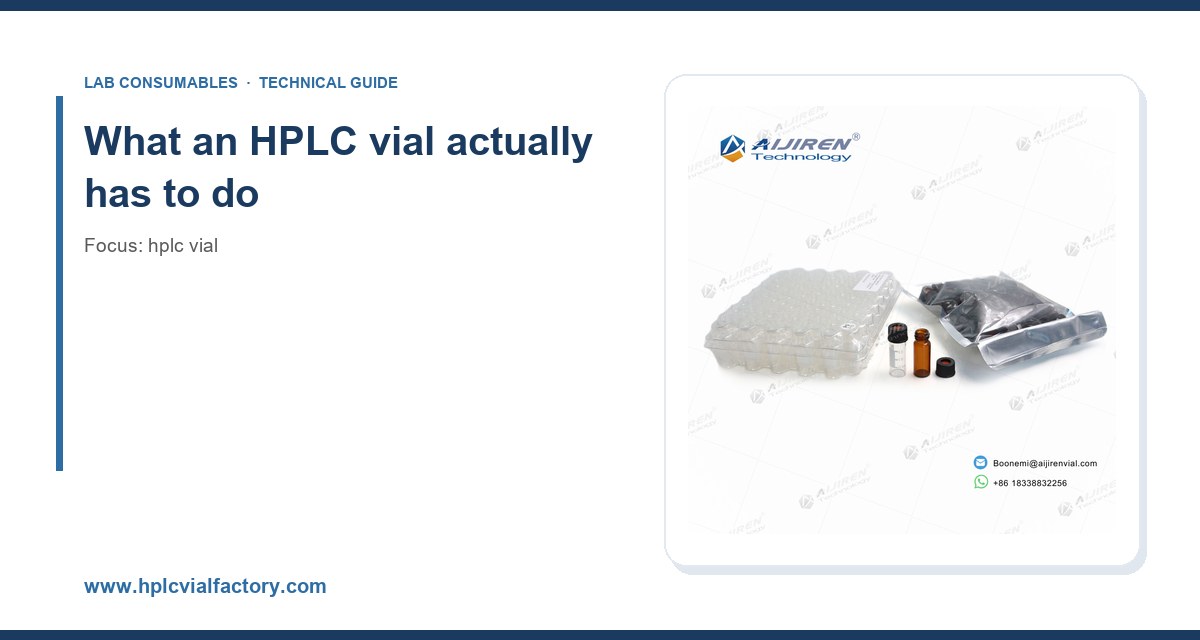
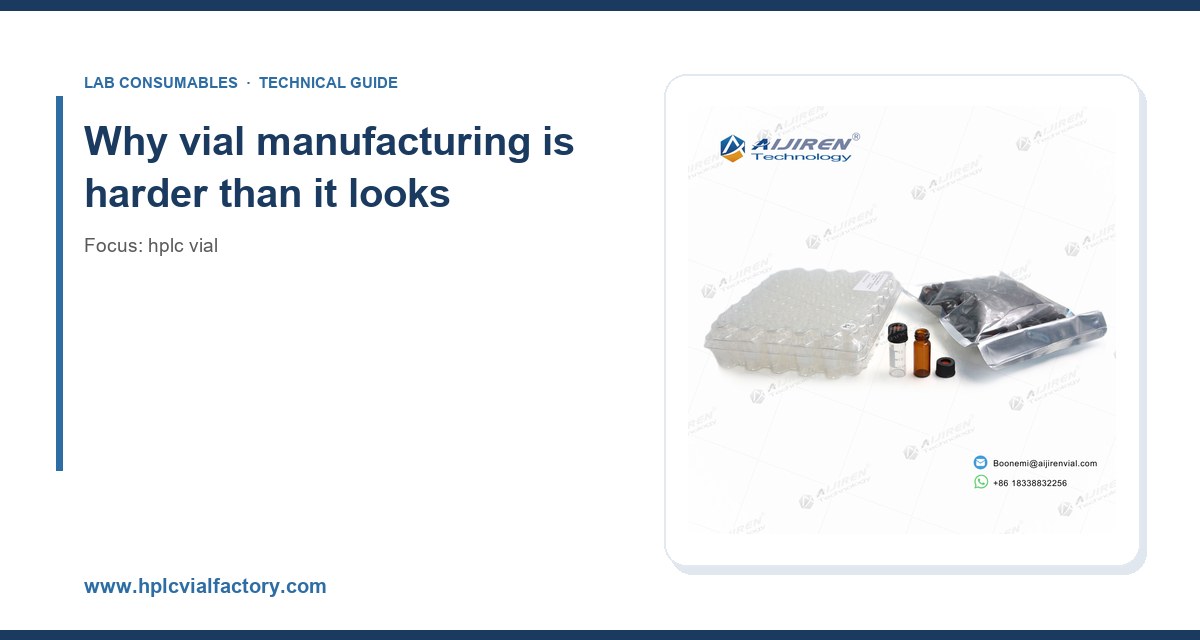
A 2 mL HPLC vial is a deceptively simple object: a borosilicate glass cylinder, a crimp or screw neck, a septum, and a cap. The tolerances that matter are measured in tenths of a millimeter, and the chemical requirements run to parts-per-billion. A manufacturer that treats the vial as commodity glassware will fail on both fronts.
The failure modes I have personally dealt with, in rough order of how often they bit me:
- Extractable peaks appearing at 210 nm after 24 hours of dwell time in an autosampler tray, traced to mold release agents or residual organics on the glass.
- Needle coring from a septum with the wrong durometer, producing rubber particles that block a 0.17 mm needle or, worse, land in the column inlet frit.
- Vial height variance of 0.5 mm across a lot, causing intermittent “no sample” errors on a fixed-height needle autosampler.
- Crimp neck ovality that lets the seal leak during a 12-hour overnight run, evaporating 15% of a volatile solvent and skewing every result.
- pH drift in borosilicate vials that were not properly annealed, leaching alkali into a phosphate buffer mobile phase.
None of these show up on a certificate of analysis unless the manufacturer is testing for them. That is the core of the qualification problem: the COA is only as good as the test list behind it.
Materials: what the glass and the septum actually are
Glass: Type I borosilicate is the floor, not the ceiling
The baseline material for an HPLC vial is Type I borosilicate glass per USP <660> and ASTM E438. In practice this means a borosilicate formulation with a coefficient of linear expansion around 3.3 x 10^-6 /°C and a hydrolytic resistance class of HGA1 or better. That is the minimum. What separates a good manufacturer from a mediocre one is how consistently they hit that class across a production lot, not whether they can hit it once for a sample.
I ask for the following glass data before I will even run a trial:
- Hydrolytic resistance per USP <660> or ISO 720, with the actual titration result in mL of 0.01 M HCl, not just a pass/fail stamp.
- Alkali leaching tested by flame photometry or ICP-MS, reported in µg Na2O per gram of glass.
- Annealing verification, ideally by polariscope or a documented annealing curve. Unannealed glass carries residual stress that shows up as cracking during crimping.
- Amber glass (for light-sensitive analytes) must be the same Type I base with an iron oxide colorant, not a soda-lime substitute. Ask for the transmission spectrum from 300 to 500 nm; a real amber vial blocks below about 450 nm.
I have seen soda-lime vials sold as “borosilicate” because the marketing department liked the word. The tell is the price and the leach test. A soda-lime vial will show 5 to 10 times the alkali leaching of a true Type I borosilicate, and you will see it as pH creep in unbuffered mobile phases and as sodium adducts in LC-MS.
Septum: the most under-specified component in the system
The septum is where most real-world problems live. The standard materials are silicone, silicone with a PTFE face, and butyl or bromobutyl rubber. For HPLC, a silicone septum with a PTFE liner on the sample side is the default because the PTFE is chemically inert and the silicone provides the reseal.
The numbers I specify:
- Durometer in the 45 to 55 Shore A range for autosampler septa. Softer cores and tears; harder requires excessive needle force and shortens needle life.
- Thickness of 1.0 mm for standard 2 mL screw and crimp vials, 3.0 mm for headspace septa. Thinner septa reseal poorly; thicker septa core more readily and increase back-pressure on the needle.
- PTFE liner thickness of 0.05 to 0.13 mm. Too thin and the needle drags through the liner rather than cleanly piercing it; too thick and the septum does not reseal against the liner.
- Puncture count: I require a documented test of at least 5 punctures with a 0.5 mm needle at the same point, followed by a leak check at 1 bar for 30 seconds. A good septum holds 10 or more.
I have watched a cheap septum core on the third injection and drop a rubber fragment into a 1.5 mL sample. That is a $4,000 column and a day of instrument downtime for a part that costs a few cents. Buy the septum from a supplier who will give you the durometer and the puncture data. Our own HPLC septa spec sheet exists precisely because I got tired of asking for those numbers and getting a shrug.
Caps and closures: the interface that makes or breaks the seal
The closure is where dimensional control matters most. A screw cap has a thread pitch, a liner seat, and a torque window. A crimp cap has a neck geometry and an aluminum skirt that has to deform correctly. Both are specified by the vial neck standard, and the relevant one for 2 mL vials is the GPI 8-425 thread for short screw necks and the GPI 13-425 for the wider format, plus the 11 mm crimp neck that dominates autosampler workflows.
What I check on closures:
- Thread engagement: a 8-425 cap should engage at least 2.5 full turns before seating. Less than that and the cap backs off during a run.
- Torque window: for screw caps I specify 0.5 to 1.0 N·m on a calibrated torque driver. Below 0.4 N·m you get leaks; above 1.2 N·m you crack necks or deform the liner.
- Liner concentricity: the PTFE/silicone disc must sit flat with no more than 0.1 mm of offset, or the seal is asymmetric and leaks on one side.
- Aluminum temper for crimp caps: too hard and it will not crimp to the correct 11 mm dimension; too soft and it deforms under autosampler gripper pressure.
The closure and the vial are a system, not two parts. I have a rule: never buy the vial from one factory and the cap from another unless you have run a joint leak test. The neck dimensions have to match the cap interior to within a few hundredths of a millimeter. Our vial closures line is specified against the same neck drawings as the vials for exactly this reason.
QC: the tests that actually predict field performance
A manufacturer that runs dimensional checks and calls it QC is not doing QC. The tests I require in a qualification package fall into four groups.
1. Dimensional and physical
- Height: 32.0 ± 0.2 mm for a standard 2 mL vial. I have seen ± 0.5 mm from low-cost factories, and that is enough to trip a fixed-height autosampler.
- Outer diameter: 12.0 ± 0.1 mm, with roundness checked at the neck and body.
- Neck ID and thread profile: checked with go/no-go gauges, not calipers. Calipers lie on threads.
- Wall thickness: 1.0 mm nominal, with a minimum that maintains burst resistance under autosampler gripper force.
- Visual: no chips, no seeds, no striae, no visible cracks, checked against a defined limit sample under 3000 lux.
2. Chemical cleanliness
This is where the cheap vial reveals itself. I require:
- Extractable screening by HPLC-UV at 210 nm and 254 nm, with a blank injection of HPLC-grade water and of acetonitrile after 24 hours of contact. The specification is no peak above the baseline noise plus 3 sigma at the analyte retention window.
- LC-MS extractable screen for high-sensitivity work, with a target of no single background ion above 100 counts in the m/z 100 to 1000 range.
- Residual organics by TOC or GC-MS headspace, reported as µg carbon per vial. A properly washed and annealed vial comes in under 5 µg; an unwashed one can be 10 times that.
I have a standard test method I hand to new suppliers: fill 100 vials from a lot with 1.5 mL of 50:50 water:acetonitrile, cap with the supplied closure, and inject 10 µL on a C18 column with a gradient from 5% to 95% acetonitrile, monitoring at 210 nm. Any peak above 0.5 mAU that is not present in a freshly prepared mobile phase blank is a fail. This test has rejected three suppliers for me over the years.
3. Closure and septum performance
- Leak test: fill with a volatile solvent (methanol or acetonitrile), cap to the specified torque, weigh, hold at 25 °C for 24 hours, reweigh. Loss above 0.5% by weight is a fail.
- Puncture and reseal: 5 punctures with a 0.5 mm needle, then a pressure hold test at 1 bar for 30 seconds.
- Crimp pull-off: for crimp vials, a defined pull force (typically 15 to 25 N) to verify the seal is neither loose nor over-deformed.
4. Lot traceability and documentation
Every lot should ship with a COA that lists the actual measured values, the test methods, the instrument IDs, and the analyst. A COA with only pass/fail boxes is a red flag. I also want the glass lot number and the septum lot number traceable to the finished vial lot, because when a problem appears six months later I need to know which glass melt it came from.
OEM capability: what separates a real partner from a relabeler
Half the “manufacturers” in this space are trading companies that buy from a factory and print a logo on the box. That is fine for commodity supply, but it is not OEM. If you need a custom vial for a specific autosampler, a private-label program, or a validated custom septum, you need to know which kind of supplier you are talking to.
I ask these questions in the first meeting:
- Do you own the molds and the glass forming lines, or do you buy finished vials? A factory that forms its own glass can hold dimensional tolerances across lots. A relabeler cannot.
- Can you supply the glass melt chemistry and the annealing curve? If not, they are not making the glass.
- What is your minimum order for a custom neck dimension or a custom septum durometer? A real factory will quote a tooling cost and a realistic first-article timeline. A relabeler will promise anything and deliver a stock part.
- Do you run first-article inspection (FAI) to AS9102 or an equivalent format? This is the standard for dimensional first-article reporting and it tells you whether they have a real quality system.
- Can you do a joint validation with my autosampler? The best OEM partners will ship a trial lot and support a method validation on your instrument, not just send a datasheet.
I have also learned to ask about capacity and lead time under stress. A factory that can make 10 million vials a year but has one forming line is one breakdown away from a six-week delay. I want at least two lines and a documented business continuity plan. This is the unglamorous part of OEM qualification, and it is where most supply failures originate.
Comparison checklist: qualifying a supplier in one page
Here is the scorecard I use. A supplier needs to clear every line to be considered for a validated method.
- Glass type: Type I borosilicate per USP <660>, HGA1 hydrolytic class, documented per lot. Pass / fail.
- Vial height: 32.0 ± 0.2 mm, Cpk ≥ 1.33 across the lot. Pass / fail.
- Outer diameter: 12.0 ± 0.1 mm, roundness within 0.05 mm. Pass / fail.
- Neck standard: GPI 8-425 or 13-425 as specified, go/no-go gauge verified. Pass / fail.
- Septum durometer: 45 to 55 Shore A, PTFE liner 0.05 to 0.13 mm. Pass / fail.
- Puncture count: ≥ 5 punctures, leak test at 1 bar for 30 s. Pass / fail.
- Torque window: 0.5 to 1.0 N·m for screw caps, verified with a calibrated driver. Pass / fail.
- Extractables: no peak above 0.5 mAU at 210 nm after 24 h contact. Pass / fail.
- Residual carbon: under 5 µg per vial by TOC or GC-MS. Pass / fail.
- COA: measured values, methods, instrument IDs, analyst, glass and septum lot traceability. Pass / fail.
- OEM: owns forming lines, FAI capability, custom tooling quote, joint validation support. Pass / fail.
- Capacity: at least two forming lines, documented continuity plan. Pass / fail.
If a supplier clears all twelve, they are worth a trial. If they clear ten, ask which two failed and why. If they cannot answer the extractables and puncture questions with numbers, walk away.
Operational precautions that protect the investment
Even a good vial will fail in the field if it is handled badly. A few rules I enforce in my own labs:
- Do not touch the septum face with bare fingers. Skin oils are an extractable source and will show up at 210 nm. Use powder-free nitrile gloves and handle by the cap skirt.
- Torque every screw cap with a calibrated driver, not by hand. Hand torque varies from 0.3 to 1.5 N·m between analysts, and that is enough to cause intermittent leaks.
- Store vials in the original packaging until use. An open bag on a bench picks up dust and volatile organics from the lab air.
- Never re-crimp a crimp vial. The aluminum work-hardens and the second seal is unreliable.
- Run a system suitability blank with each new lot of vials, using the same mobile phase and method as the samples. This catches lot-to-lot extractable variation before it contaminates a batch of results.
Troubleshooting checklist: when the vial is the suspect
When a method goes wrong, the vial is usually the last thing blamed and sometimes the actual cause. Run this checklist before you replace the column.
- Phantom peaks at 210 nm that grow with dwell time: extractables from the glass or septum. Swap to a known-clean lot and re-run the blank.
- Intermittent “no sample” or “short sample” errors: vial height or diameter out of tolerance. Measure 20 vials from the lot with a calibrated height gauge.
- Rubber particles in the sample or on the column frit: septum coring. Check needle condition and septum durometer; replace with a PTFE-lined septum and verify puncture count.
- Sample volume loss over an overnight run: cap torque or septum reseal failure. Weigh vials before and after; loss above 0.5% means a closure problem.
- pH drift in unbuffered mobile phase: alkali leaching from soda-lime glass sold as borosilicate. Request the hydrolytic resistance data.
- Sodium adducts in LC-MS: same cause as above. Switch to a verified Type I borosilicate vial.
- Cracked necks after capping: over-torque or unannealed glass. Check the torque driver calibration and ask for the annealing record.
Where to source and how to structure the supply
My recommendation is to qualify two suppliers, not one, and to split the volume roughly 70/30. The primary carries your validated methods and your OEM private-label program; the secondary is a qualified backup that you keep active with a small quarterly order so the qualification does not go stale. This is not paranoia. It is what saved a production line for me when a primary factory had a furnace rebuild that ran three weeks long.
For the vial itself, the specification I hand to procurement is: 2 mL clear Type I borosilicate, 32.0 ± 0.2 mm height, 12.0 ± 0.1 mm OD, 11 mm crimp or 8-425 screw neck as required, with a 1.0 mm silicone/PTFE septum and a closure torqued to 0.5 to 1.0 N·m. For light-sensitive work, the amber equivalent with a documented transmission cut-off below 450 nm. For LC-MS, add the extractable screen at 100 counts and the residual carbon limit of 5 µg per vial.
If you are building out a full consumables program, the same qualification logic applies to the rest of the flow path. Our HPLC vial range is specified against these numbers, and the broader chromatography products catalog covers the filters, frits, and fittings that share the same cleanliness requirements. For method context on extractables and leachables, the U.S. EPA SW-846 test methods are a useful reference for the kind of documented, method-based testing a real QC program should mirror, and the technical libraries at Agilent, Thermo Fisher, and Restek are where I send new analysts to learn what a clean blank should look like on their specific platform.
Takeaway
A reliable HPLC vial manufacturer is defined by three things you can verify: the glass chemistry and annealing data behind the vial, a QC program that tests extractables and septum puncture performance with real numbers rather than pass/fail stamps, and an OEM capability that includes owned forming lines, first-article inspection, and joint validation on your autosampler. Ask for the hydrolytic resistance titration, the septum durometer, the puncture count, and the torque window. If the supplier can produce those four numbers with lot traceability, you have a partner. If they cannot, you have a box of glass and a future mystery peak.
References & further reading
Related resources from our lab consumables network:
- Hplc Vial at hplcvialfactory.com
- Chromatography Products at chromatographyforsale.com
- Hplc Septa at hplcsepta.com
- Vial Closures at vialsclosures.com
External references and standards: